Then the next step of our project is to edit the "main.xml". You can find this xml file inside the "res/layout" folder. It will contain a "LinearLayout" and a "TextView" element. But now our animation will run in a "View" which will be creating by our selfs. The final code will be look like as follows. Later we will be creating a "View" named as "PuzzleAnimationView" inside the "dinesh.fun" package. Here in the "main.xml" we are refereeing to it.
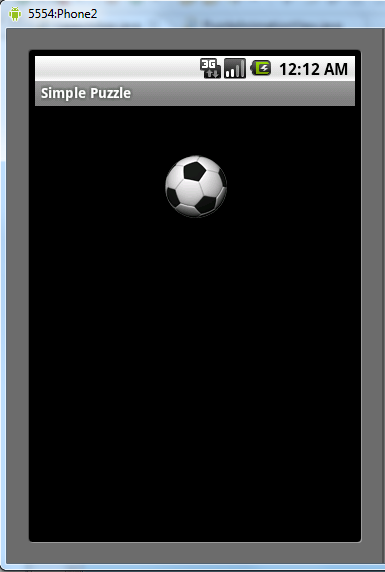
<linearlayout
android:layout_height="fill_parent"
android:layout_width="fill_parent"
android:orientation="vertical"
xmlns:android="http://schemas.android.com/apk/res/android">
<dinesh.fun.puzzleanimationview
android:id="@+id/anim_view"
android:layout_height="fill_parent"
android:layout_width="fill_parent">
</dinesh.fun.puzzleanimationview>
</linearlayout>
Now save the xml and close it. It will create necessary variables inside the "R.java" class. This is a file which is automatically generated and you DONOT need to change it at all. Next its better to add the image you need to use for animation into the folder "res/drawable". In some cases it will have three folders to support on different Android environments. For now you can copy the image into any one of them. In this example i used a "ball.png" as my image (its better to use a very small image for this example).
Now at the moment you can find "LaunchApp.java" is already created inside the package. For now we'll keep it a side and we'll create a new class named "PuzzleAnimationView". This was the defined class previously in "main.xml". This class should be extending "ImageView" class. As the first step you need to create the constructor of the class and see to set the context. The constructor will be appear as following.
public PuzzleAnimationView(Context context, AttributeSet attrs)
    {
     super(context, attrs);
     mContext = context;
    }
Here you will need to create a private variable named as "mContext". Now we are ready to write the actual drawing part. The "ImageView" class has its own method "onDraw" which is created in order to draw what ever things in the screen. hence we will be overriding this method with our animation code. But remember this is not about Android Animation. This is some image moving around. Later I will present you some fun application with Android Animation. First give a look at the code. Then we'll discuss what it is doing.protected void onDraw(Canvas c) {
int res_id = mContext.getResources().getIdentifier("ball", "drawable", mContext.getPackageName());
BitmapDrawable d = (BitmapDrawable) mContext.getResources().getDrawable(res_id);
int draw_x = Math.round(System.currentTimeMillis() % (this.getWidth()*2)) ;
int draw_y = Math.round(System.currentTimeMillis() % (this.getHeight()*2)) ;
if (draw_x>this.getWidth())
draw_x = (this.getWidth()*2)-draw_x;
if (draw_y>this.getHeight())
draw_y = (this.getHeight()*2)-draw_y;
c.drawBitmap(d.getBitmap(), draw_x, draw_y, null);
float time = System.currentTimeMillis();
while ((time+5000)>System.currentTimeMillis());
postInvalidate();
}
In "onDraw" method it is called with the parameter "Canvas". The Android phone will call this method with passing this parameter. Our goal is to draw a bitmap in to the given canvas. in line 12 you can see the bitmap drawing takes place. The line 2 and 3 is basically used to load the "ball" image into a bitmap. From 5 to 10 the lines are used here to manipulate the x and y locations that image should be drawn. You can use different kinds of algorithms here. Its just need to stay inside the screen resolution. "this.getWidth()" like emthods will return the screen size. Finally the line 14 and 15 is used as a timer to wait before the next draw. And finally in line 17 we call "postInvalidate()" method to redraw or to call the "onDraw" method through the system. Now we are done with creating the animation. The next step is really simple. Now you just need to create a "PuzzleAnimationView" object. Then it will start playing automatically. Here is the code for creation.
PuzzleAnimationView anim_view = (PuzzleAnimationView) this.findViewById(R.id.anim_view);Now its ready to run the application. Enjoy. If you have any concerns leave a comment.